March Molding and Resin Casting Workshop
In March I participated in a casting workshop, getting my first hands on with molding and resin casting.
I'm behind on documenting this for my development, but better late than never. In March I participated in a resin molding and casting workshop. I had waited for this with a lot of anticipation, having signed up many months in advance. This was a day class taught by local artist and educator, Sue Latta.
This was a great opportunity for me to get some hands on with silicone molding and resin casting as my intent is to mold and cast my own pieces. What better way to get an introduction than to learn with someone who has been working with these mediums for years?
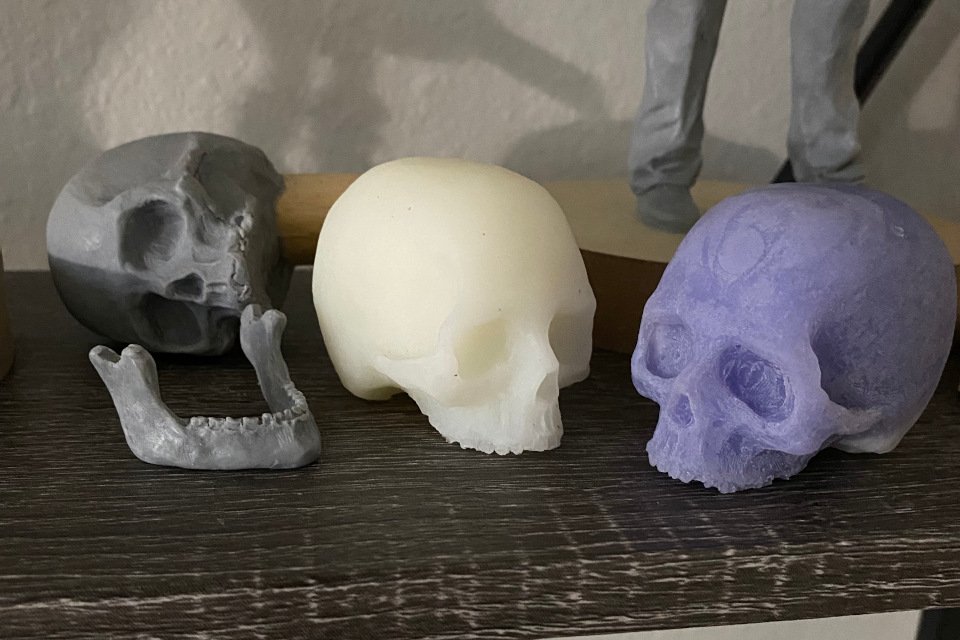
Class participants were informed they could bring in pieces of our own to cast so long as they fit within specific size requirements. I brought my skull study and my chainsaw-gasmask figure, not knowing which would be the better. I assumed it would be the skull since it is much simpler but wanted to come with some options.
The class introduced us to the materials, giving us background on their uses and properties. This was from the clay we would use to assist our forms, to the silicones, resins, and color additives we worked with. It was invaluable to hear Sue's experience with these materials. My hope is the information she gave us will help me save some money on wasted materials due to inexperience, as the silicones and resin's are expensive.
We spent some time working with a variety of pre-made molds as a way to get a better understanding of the proper mixing and chemical process of the resin, the proper (and improper way) to handle the silicone - it can be quite messy if you're careless - and how the materials worked. This was great prepatory experience for us for when we would pour our main pieces. It was easy to undermix the resin, ending with a chemical process that did not fully realize itself. It was also good experience to see how quickly the materials set, and how you can add color additives to the resin to create different coloring and effects.
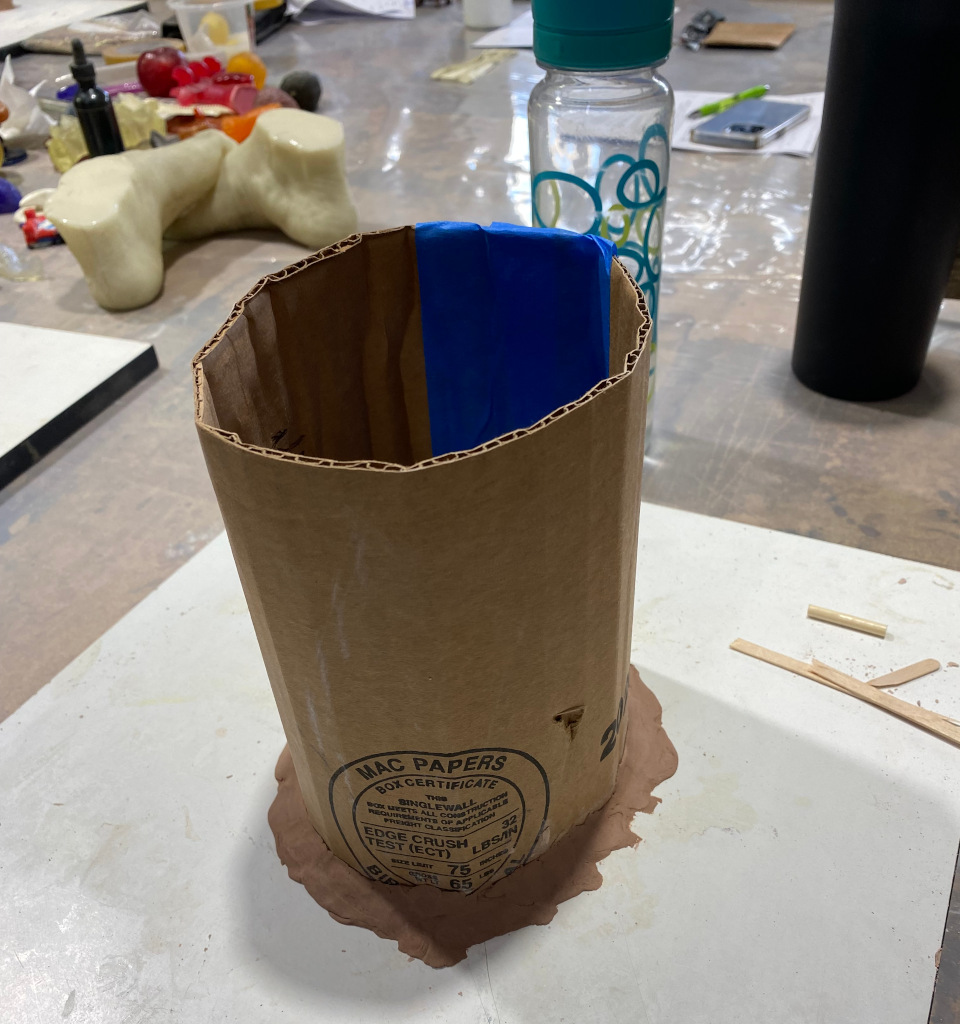
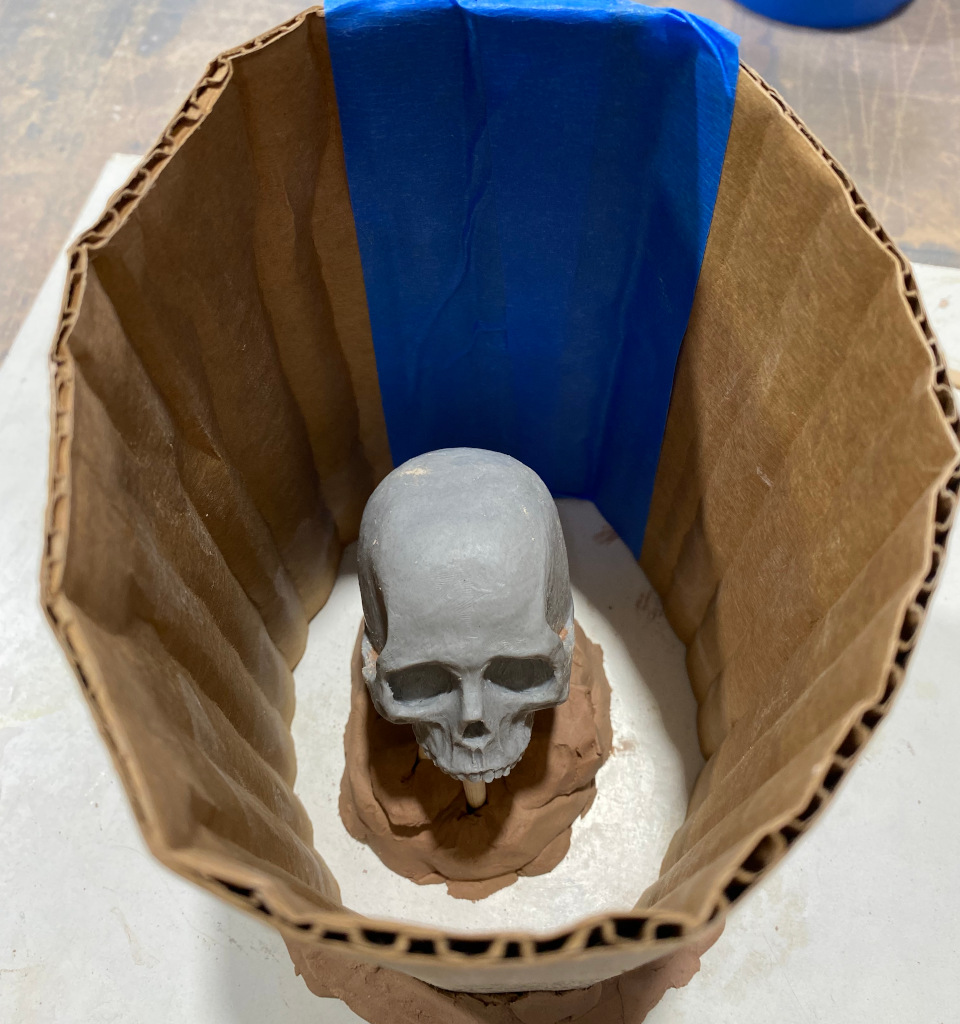
Once we completed the preliminary testing, we built up our mold walls for the pieces we brought. Due to the intracacy of my skulls detachable jawbone, this was left off. My mold walls were built using corragated cardboard with some day clay for sealer. Then it was just a matter of mixing the A and B parts of the silicone and pouring it into the cardboard retainer.
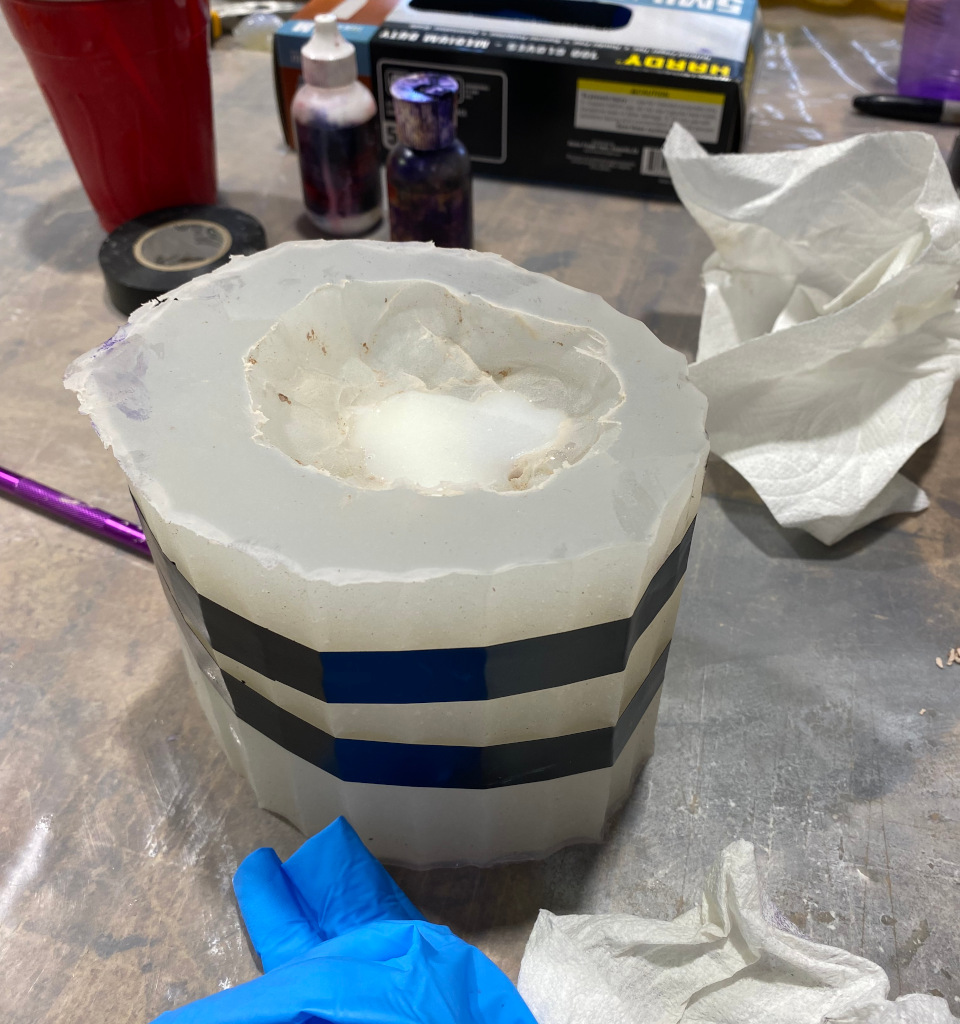
Once the silicone set, it was time to pry the piece out. This was harder than I expected, as you're trying to get the piece out while not completely ripping the silicone mold apart. With some help from Sue I was able to extract my skull. It sustained some minor damage to the teeth as these were so tiny and fragile. Nothing that couldn't be fixed.
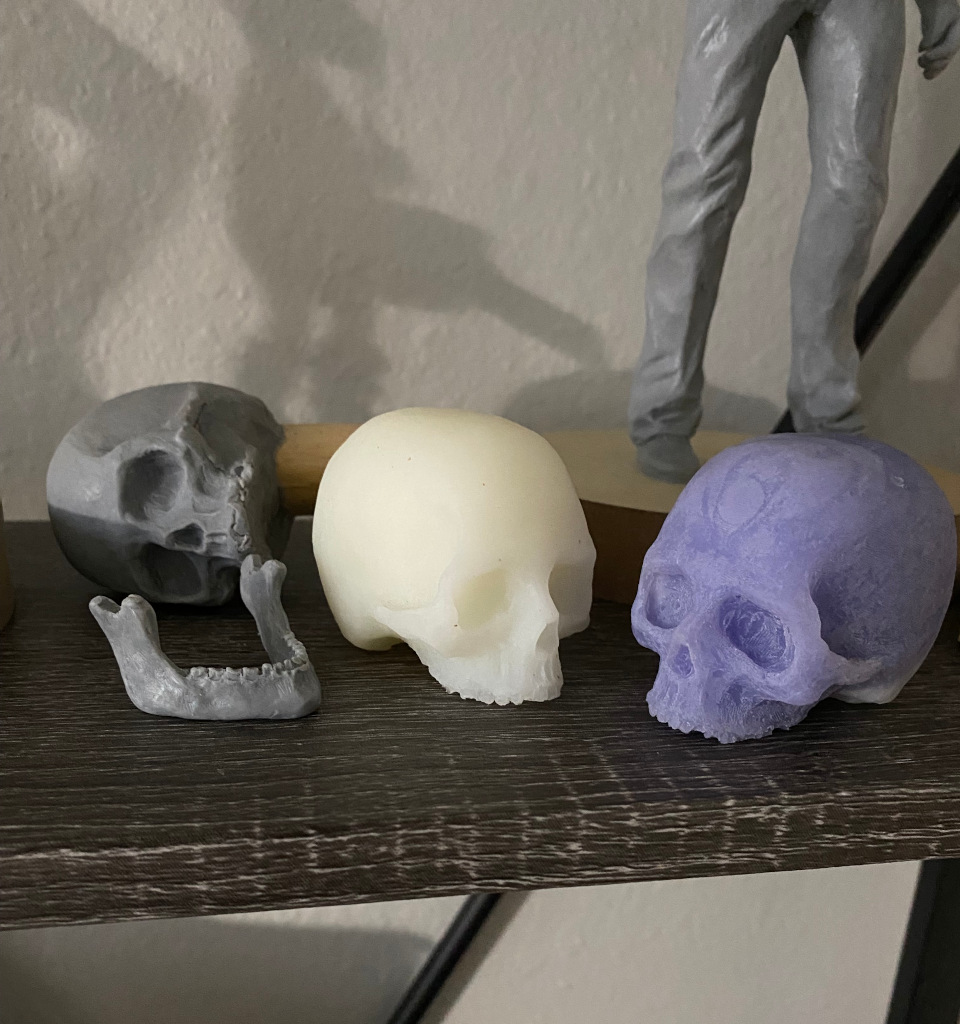
Next, I mixed my A and B parts for the resin and poured into my silicone mold. The chemical process was fairly quick, and I was impressed with how hot the resin became as it set. You could literally feel some of the heat radiating off of it. The set time was quick - probably ten to fifteen minutes. I pried out my first cast and was pleased with holding this beautiful, exact copy. Yep, it may have been purple (not the greatest choice) but it was cool. I cast a second, white version of my skull shortly before wrapping up the class.
All in all this was a great experience for me. It can not be understated how valuable it was to get some guided, hands-on prior to embarking on this by myself. And it built the excitement for me to do this with my own pieces. Now that I've wrapped up my latest piece (The Tooth Fairy) I will be working on a piece with the intention of molding and casting it. I look forward to sharing that first endeavor and what I learn from it. My intent for that one is to create a two piece mold, so it ought to be interesting.
